Scroll through your website and count how many photos actually show you, your space, or the work you do. For a lot of service businesses, the answer is surprisingly low. There’s a headshot from a few years ago, maybe a group photo from an event, and then a long list of stock images: smiling people around a conference table, hands typing on a laptop, a coffee cup next to a notebook.
Stock photos have their place, but they can’t show prospects what it’s actually like to work with you. And when your website looks like dozens of others using the same images, it becomes harder for the right clients to feel a real connection.
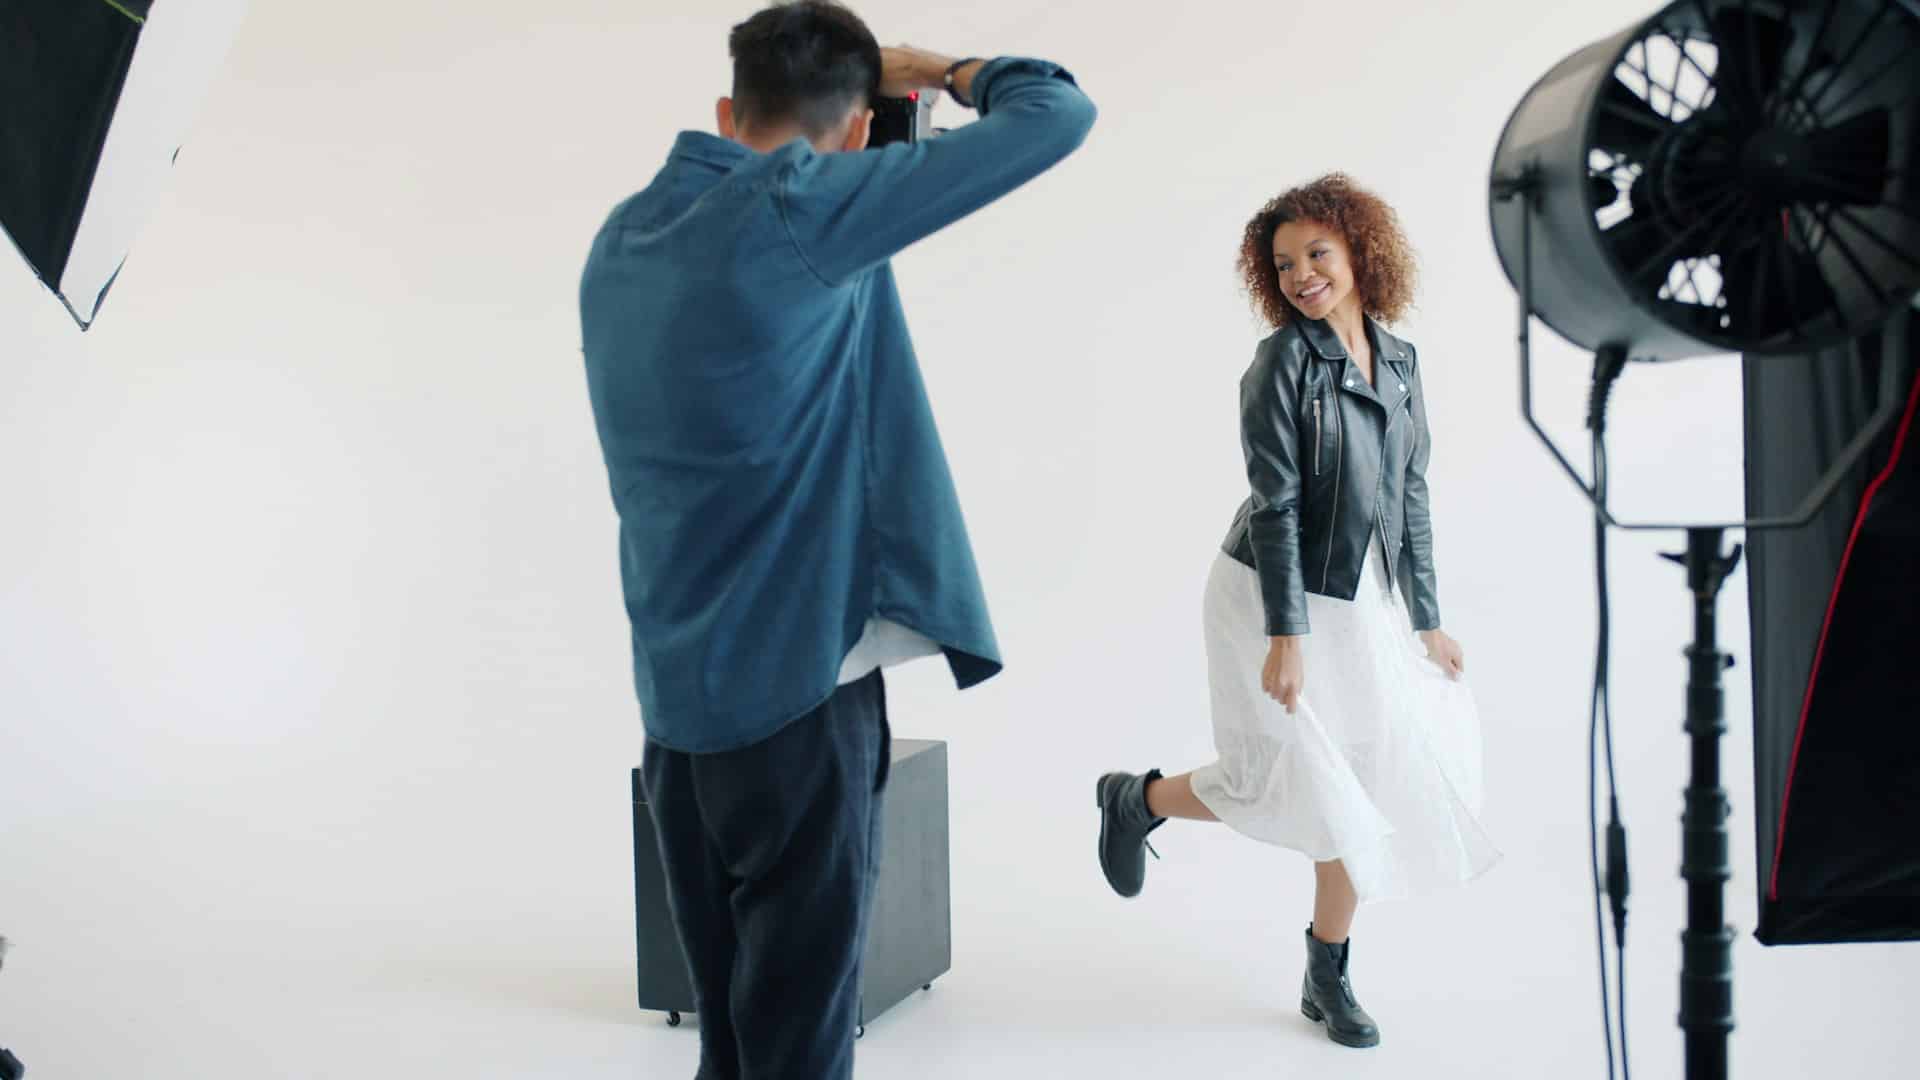
A planned brand photoshoot changes that. In a few hours, you can create a library of photos that shows your personality, your process, and your environment, all in a way that feels genuinely like your business. The key is planning. A great photographer can capture beautiful images, but only you know which photos your marketing actually needs.
Why Brand Photos Matter
Photos do a lot of persuading on their own. They help visitors understand who you are, what you do, and whether they’d feel comfortable working with you, often before they read a single word.
Did You Know? Eye-tracking research from the Nielsen Norman Group found that website visitors pay close attention to photos that show real, relevant people and content, while largely ignoring generic images that seem decorative. Photos of the actual people behind a business tend to hold attention far better than polished but generic stock imagery.
| Stock Photos | Brand Photos |
| Show generic people and places | Show you, your space, and your work |
| Used by many other businesses | Unique to your business |
| Feel polished but impersonal | Feel authentic and recognizable |
| Rarely match your brand perfectly | Planned around your colors and style |
| Help fill space | Help build trust |
Insider Tip from Andrea: Your photos should do the same job as your words: help the right client recognize themselves and feel confident reaching out. Plan your shoot around the messages you want to communicate, not just around looking good on camera.
Step 1: Start With Where You’ll Use the Photos
The most common mistake is planning a photoshoot without knowing where the photos will go. You end up with lovely images that don’t fit your website layout or your marketing needs.
Make a list of every place you need photos:
- Website homepage, often a wide image with space for text
- About page, including a few personal, relaxed photos
- Services page, showing you at work
- Blog posts and articles
- Professional profiles, like LinkedIn
- Speaker and media kits, including a high-resolution headshot
- Proposals and presentations
- Email newsletters
- Printed materials, like brochures or event signage
For each one, note the shape you’ll need, such as wide, vertical, or square. That detail alone can save you from realizing later that none of your photos fit your homepage banner.
Step 2: Define the Story Your Photos Should Tell
Before you think about poses or outfits, decide what you want people to feel and understand when they see your photos.
Questions to guide your story:
- What three words describe how you want clients to feel working with you?
- What does a typical day in your business actually look like?
- What parts of your process could you show visually?
- What makes your space, tools, or approach different?
If you’ve already defined your brand voice, use those same traits to guide your visual story. A brand described as “warm, practical, and grounded” will call for very different photos than one described as “bold, energetic, and polished.” How to Define Your Brand Voice So Everything Sounds Like You can help you clarify those traits.
Step 3: Build a Shot List
A shot list is the most important planning tool for your photoshoot. It ensures you leave with every image you need, instead of hundreds of similar photos and a few gaps.
Categories to include:
| Category | Example Shots |
| Headshots | Classic headshot, relaxed smile, a few different angles |
| Working shots | At your desk, on a video call, writing notes, reviewing documents |
| Client interaction | Meeting with a client (with permission), leading a workshop, consulting |
| Environment | Your office, studio, or workspace from a few angles |
| Details | Tools you use, your workspace setup, materials related to your service |
| Lifestyle | Walking outside, enjoying coffee, a personal touch that fits your brand |
| Space for text | Wide images with open areas for headlines or graphics |
Aim for 20 to 40 planned shots, with room for a few spontaneous ideas. Share the list with your photographer ahead of time so they can plan lighting and timing.
Step 4: Choose Your Locations
Location shapes the mood of your photos. Choose places that reflect your business and feel natural for you.
Location ideas:
- Your office or studio, the most authentic choice if you work with clients there
- Your home workspace, if it reflects how you actually work
- A local café or coworking space, for a relaxed, approachable feel
- Outdoor settings, like a park or downtown street that reflects your community
- A client’s location, with permission, if you work on-site
Two or three locations are usually plenty for a half-day shoot. Visit each one ahead of time, ideally at the same time of day as your shoot, to check lighting and potential distractions.
Step 5: Plan Your Wardrobe
What you wear should feel like you on a good day at work. It should also coordinate with your brand without looking like a uniform.
Wardrobe tips:
- Bring two to four outfits, ranging from more polished to more relaxed
- Choose solid colors or subtle patterns, since busy patterns can distract
- Coordinate with your brand colors without matching them exactly
- Wear what you’d actually wear with clients, so photos feel honest
- Check the fit, since comfortable clothing helps you relax on camera
- Pack accessories and layers to create variety without full outfit changes
If others will appear in the photos, such as team members, plan coordinating colors so the group looks cohesive.
Step 6: Choose the Right Photographer
The right photographer makes a big difference, not just in image quality but in how comfortable you feel during the shoot.
What to look for:
- Experience with brand or business photography, not just events or portraits
- A portfolio style that matches the mood you want
- A planning process, including a pre-shoot conversation
- Clear pricing for the session, editing, and number of final images
- Turnaround time for receiving your edited photos
- A written agreement that explains how you’re allowed to use the photos
Questions to ask before booking:
- How many edited images are included?
- Can I use the photos on my website, in print, and in advertising?
- Do you help plan the shot list and locations?
- How long until I receive the final images?
- What happens if we need to reschedule?
Understand Photo Usage Rights
In many cases, photographers keep the copyright to their images and grant you a license to use them. That’s normal, but it’s important to understand what the license allows. Make sure your agreement covers every place you plan to use the photos, including your website, printed materials, and any paid advertising. If anything is unclear, ask for clarification in writing before the shoot.
A Sample Half-Day Shoot Schedule
A simple schedule keeps the day organized and helps you get every shot on your list without rushing.
| Time | Focus |
| First 30 minutes | Settle in, review the shot list, and take warm-up headshots |
| Next 60 minutes | Headshots and working shots at your main location |
| Short break | Change outfits and move to your second location |
| Next 60 minutes | Environment, details, and lifestyle shots |
| Final 30 minutes | Wide images with space for text, plus any missing shots |
Build in a little extra time for travel, outfit changes, and lighting adjustments. Morning light and late-afternoon light are often the most flattering for outdoor photos, so plan those shots around the time of day if you can.
Step 7: Prepare to Feel Comfortable on Camera
Many business owners feel nervous about being photographed. That’s completely normal, and a little preparation goes a long way.
Ways to feel more at ease:
- Get plenty of rest the night before
- Practice a few natural poses in a mirror
- Bring a playlist or ask if you can play music during the shoot
- Focus on activities, like writing or talking, instead of only posing
- Bring a friend or team member if it helps you relax
- Remember that the first few shots are warm-ups, and the best images usually come later
A good photographer will guide you through poses and help you look and feel natural.
Step 8: Put Your Photos to Work
Once your edited photos arrive, organize them so they’re easy to find and use.
A simple system:
- Create folders by category, such as headshots, working shots, and environment
- Save multiple sizes for web, print, and email
- Rename files with clear descriptions
- Add descriptive alt text when you upload them to your website, which helps accessibility and search
- Replace stock images on your most important pages first
Start with your homepage, About page, and services page, since those are where prospects form their first impressions. How to Write an About Page That Actually Wins You Clients and Your Services Page Is Where Prospects Decide. Here’s How to Write It. can help you pair your new photos with strong copy. Don’t forget your professional profiles, too. How to Turn Your LinkedIn Profile Into a Page That Brings You Clients covers how to use your photo and banner well.
If you’re also planning website videos, consider scheduling them on the same day as your photoshoot, since the setup, wardrobe, and location planning overlap. The Website Videos That Build Trust Before the First Call explains which videos are worth creating.
How Often to Update Your Brand Photos
Brand photos aren’t a one-time project. Plan to refresh them every one to two years, or whenever something significant changes.
Signs it’s time for a new shoot:
- Your appearance has noticeably changed
- You’ve moved to a new office or workspace
- Your services or audience have shifted
- You’ve added team members
- You’re relying on the same few photos everywhere
What Not to Do
These common mistakes limit how useful your photos will be.
- Don’t skip the shot list. It’s the difference between a useful library and a pile of similar photos.
- Don’t forget about layout. Plan wide, vertical, and square images.
- Don’t overload your schedule with too many locations or outfits.
- Don’t choose a photographer on price alone. Style, process, and comfort matter.
- Don’t ignore usage rights. Know exactly how you can use your photos.
- Don’t let your new photos sit unused. Replace stock images as soon as you receive them.
Where to Start
Make a list of every place your business uses photos today, and mark each spot that currently uses a stock image or an outdated photo. That list becomes the foundation of your shot list. From there, choose two locations, plan two to four outfits, and start reaching out to photographers whose work matches the feeling you want your brand to have.
If you’re not sure which part of your brand needs attention first, take our free Stage Assessment to see what your business needs next. If you’d like help planning a brand photoshoot that supports your website and messaging, book a free strategy session and we’ll map it out together. You can also explore our services to see how brand strategy and visual identity work together.
The right photos help clients see you before they ever meet you. Plan them with as much care as your words.